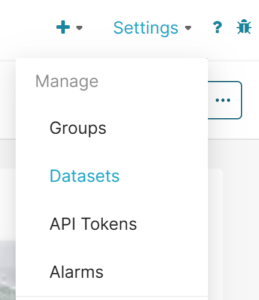
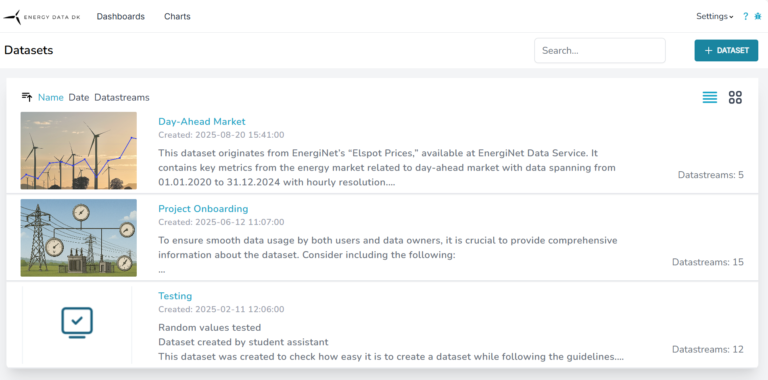
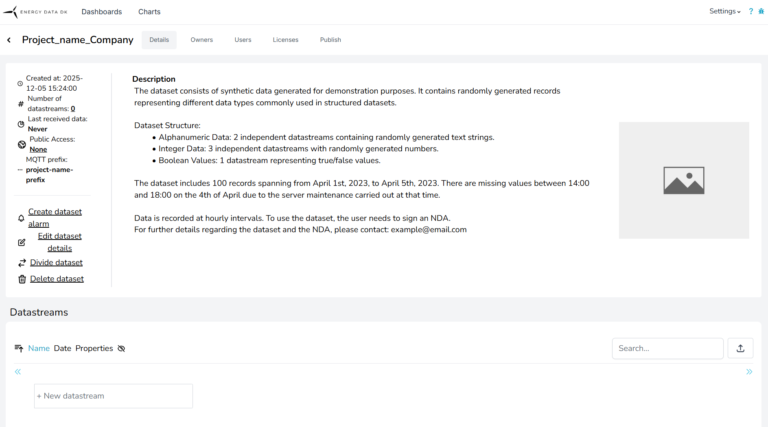
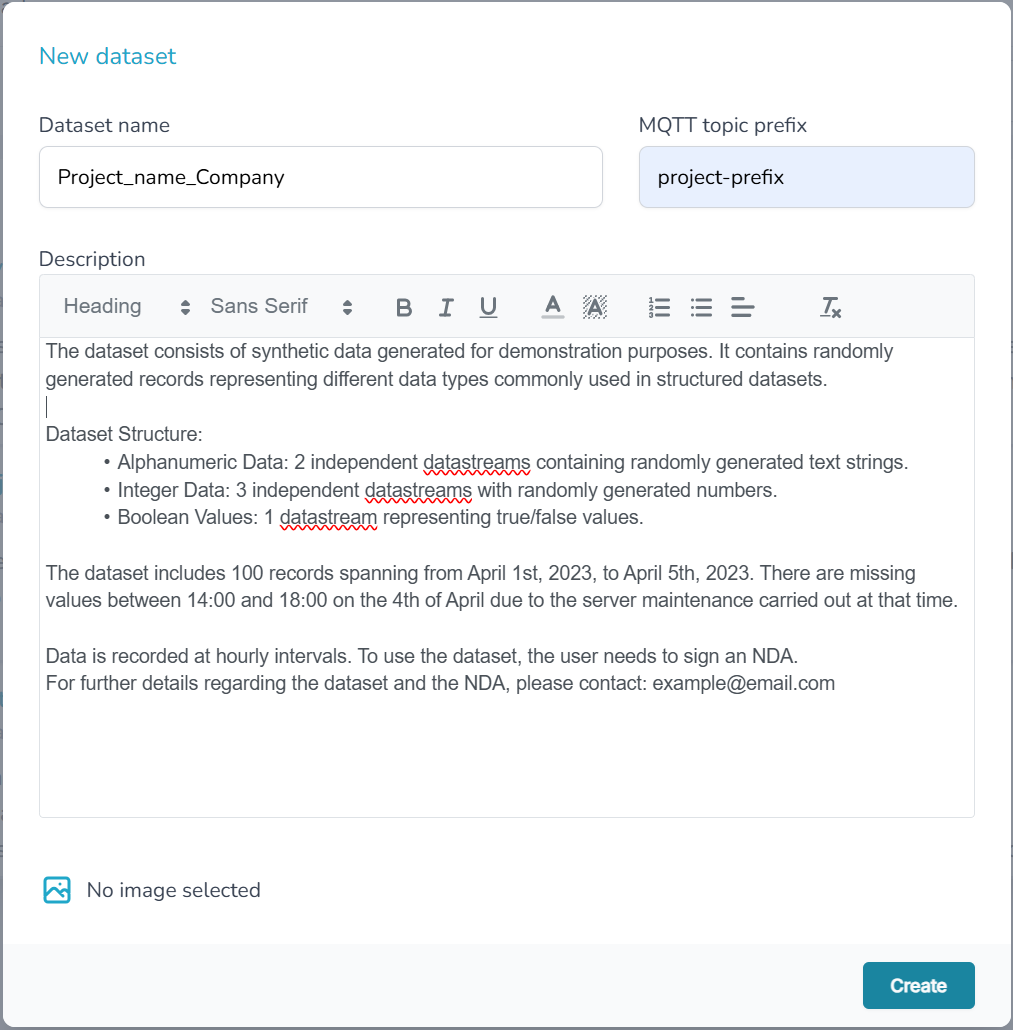
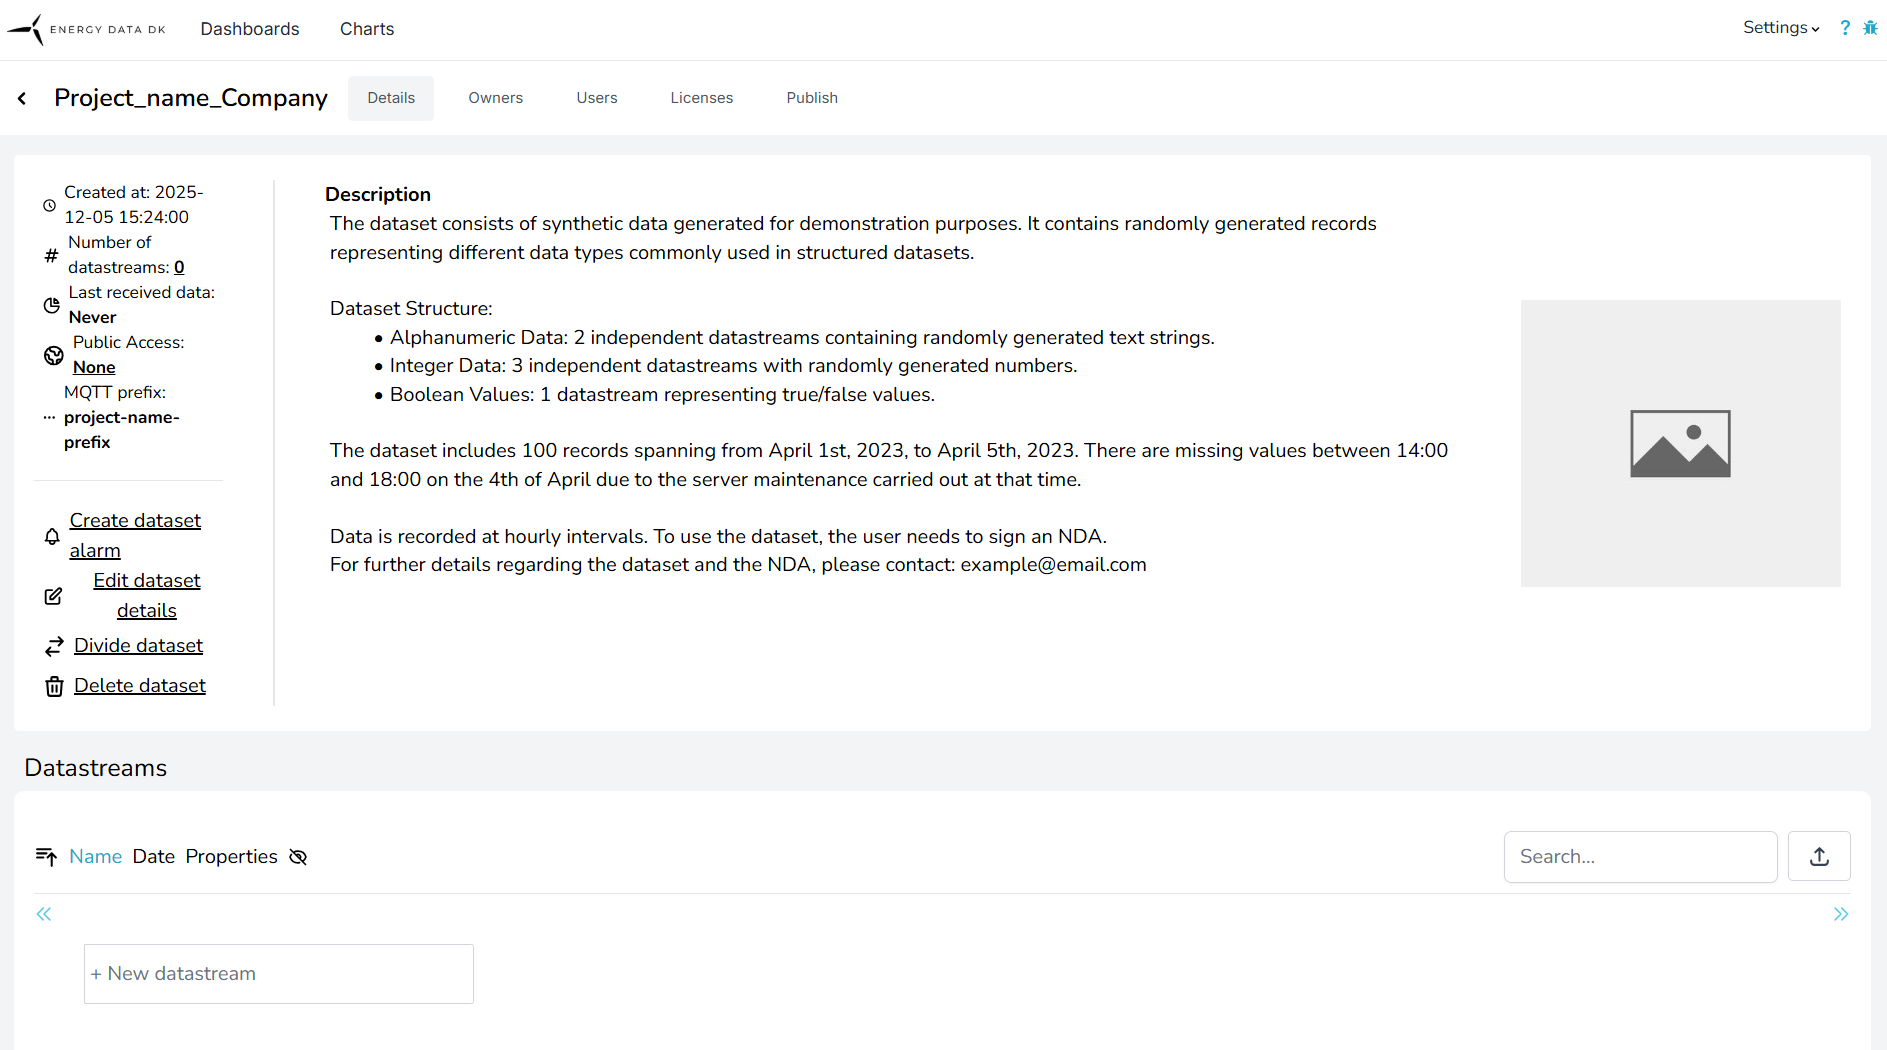
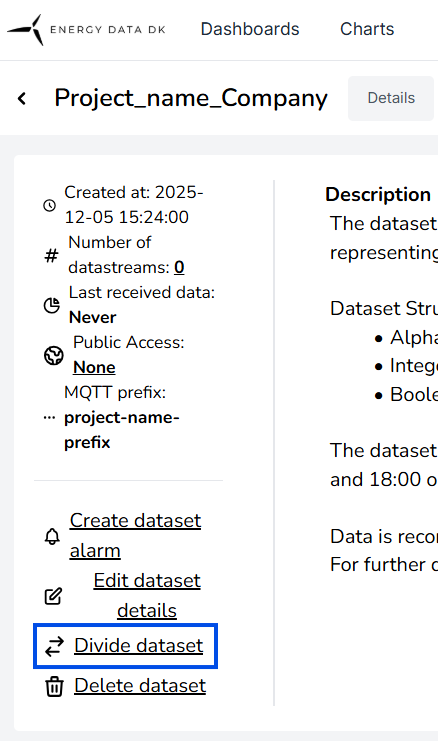
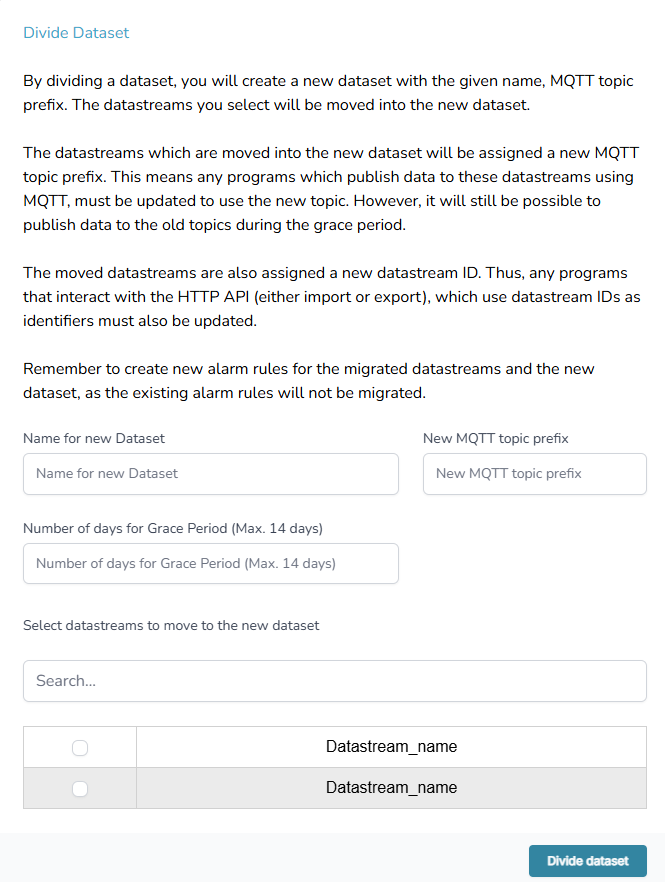
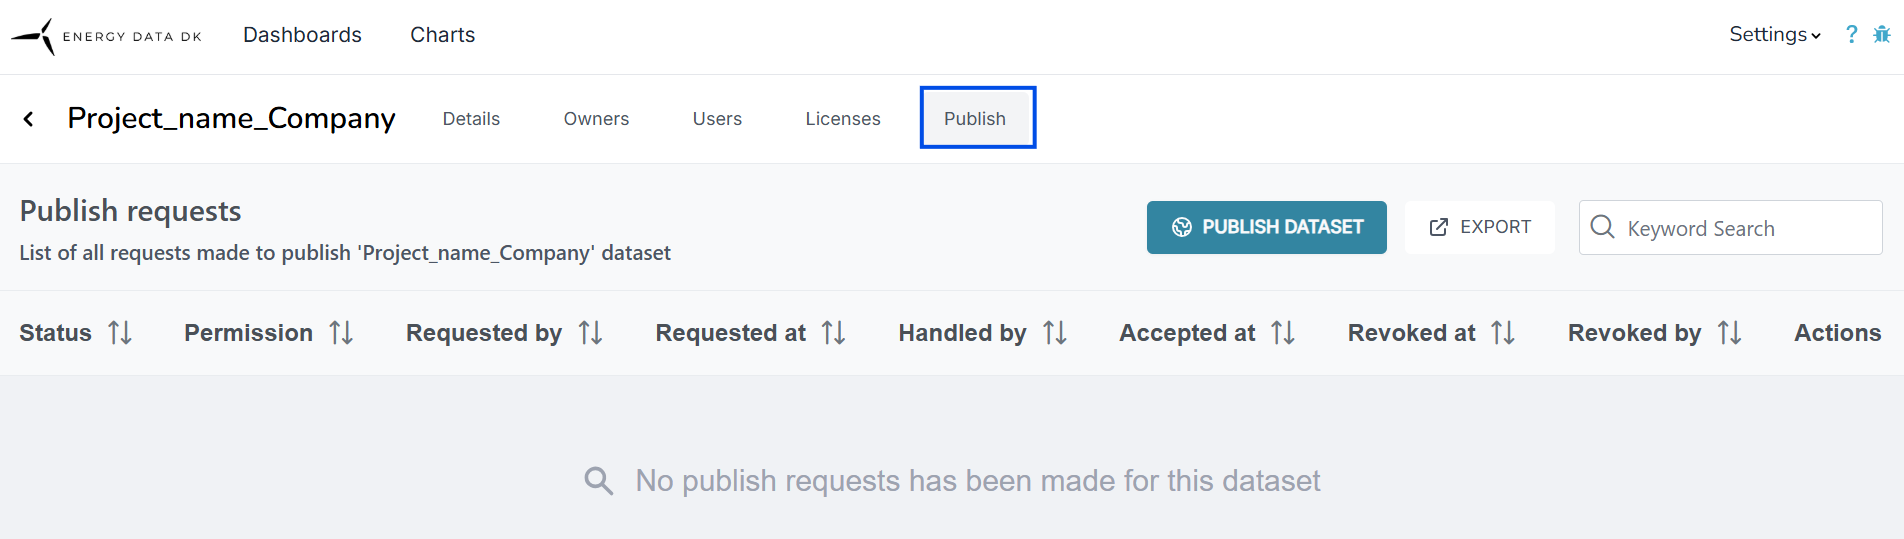
As a Data Owner on energydata.dk, you are the key manager for your data assets. Your responsibility covers the entire process: getting the data onto the platform, keeping it updated, and deciding who can access it.
This guide explains all aspects of being a data owner, ensuring your data is handled correctly and its value is maximized for the community.
This Guide Covers:
| Aspect | Focus |
|---|---|
| Data Upload | Preparing and uploading your data correctly, including setting up all necessary descriptive information (metadata). |
| Data Management | Maintaining the quality, updating datasets, and handling version control over time. |
| Access Control | Managing licenses and approving/denying access requests to your restricted datasets. |
To help you better understand this guide and use Energydata.dk effectively, it’s useful to be familiar with a few key terms.
These terms are listed in Table 1 below.
| Term | Meaning |
|---|---|
| Dataset | A dataset is a collection of related datastreams. |
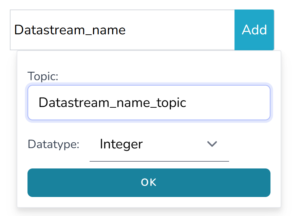
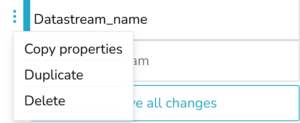
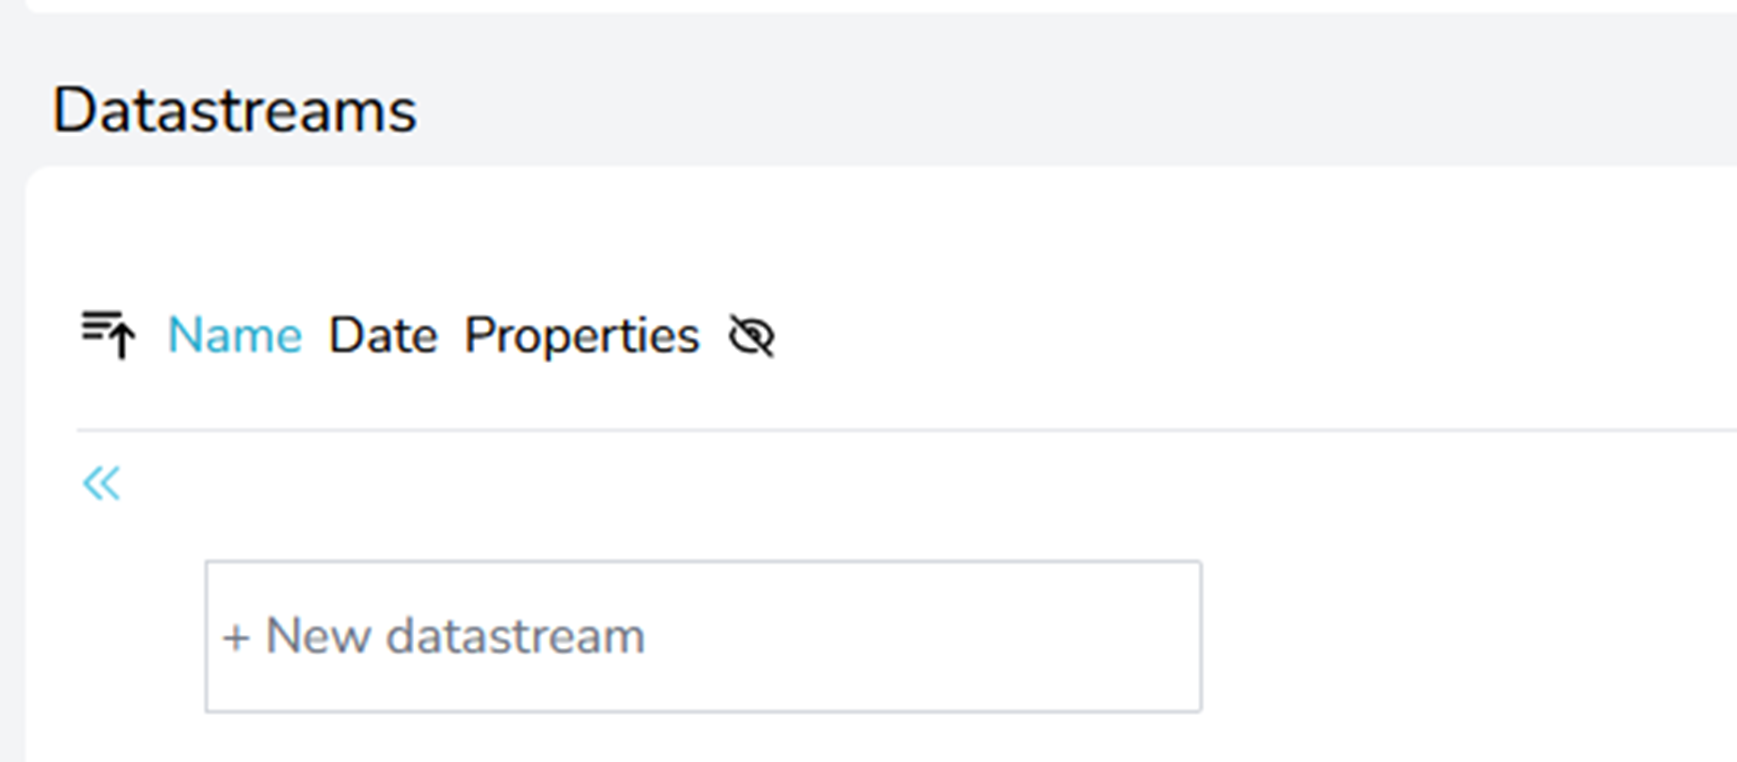
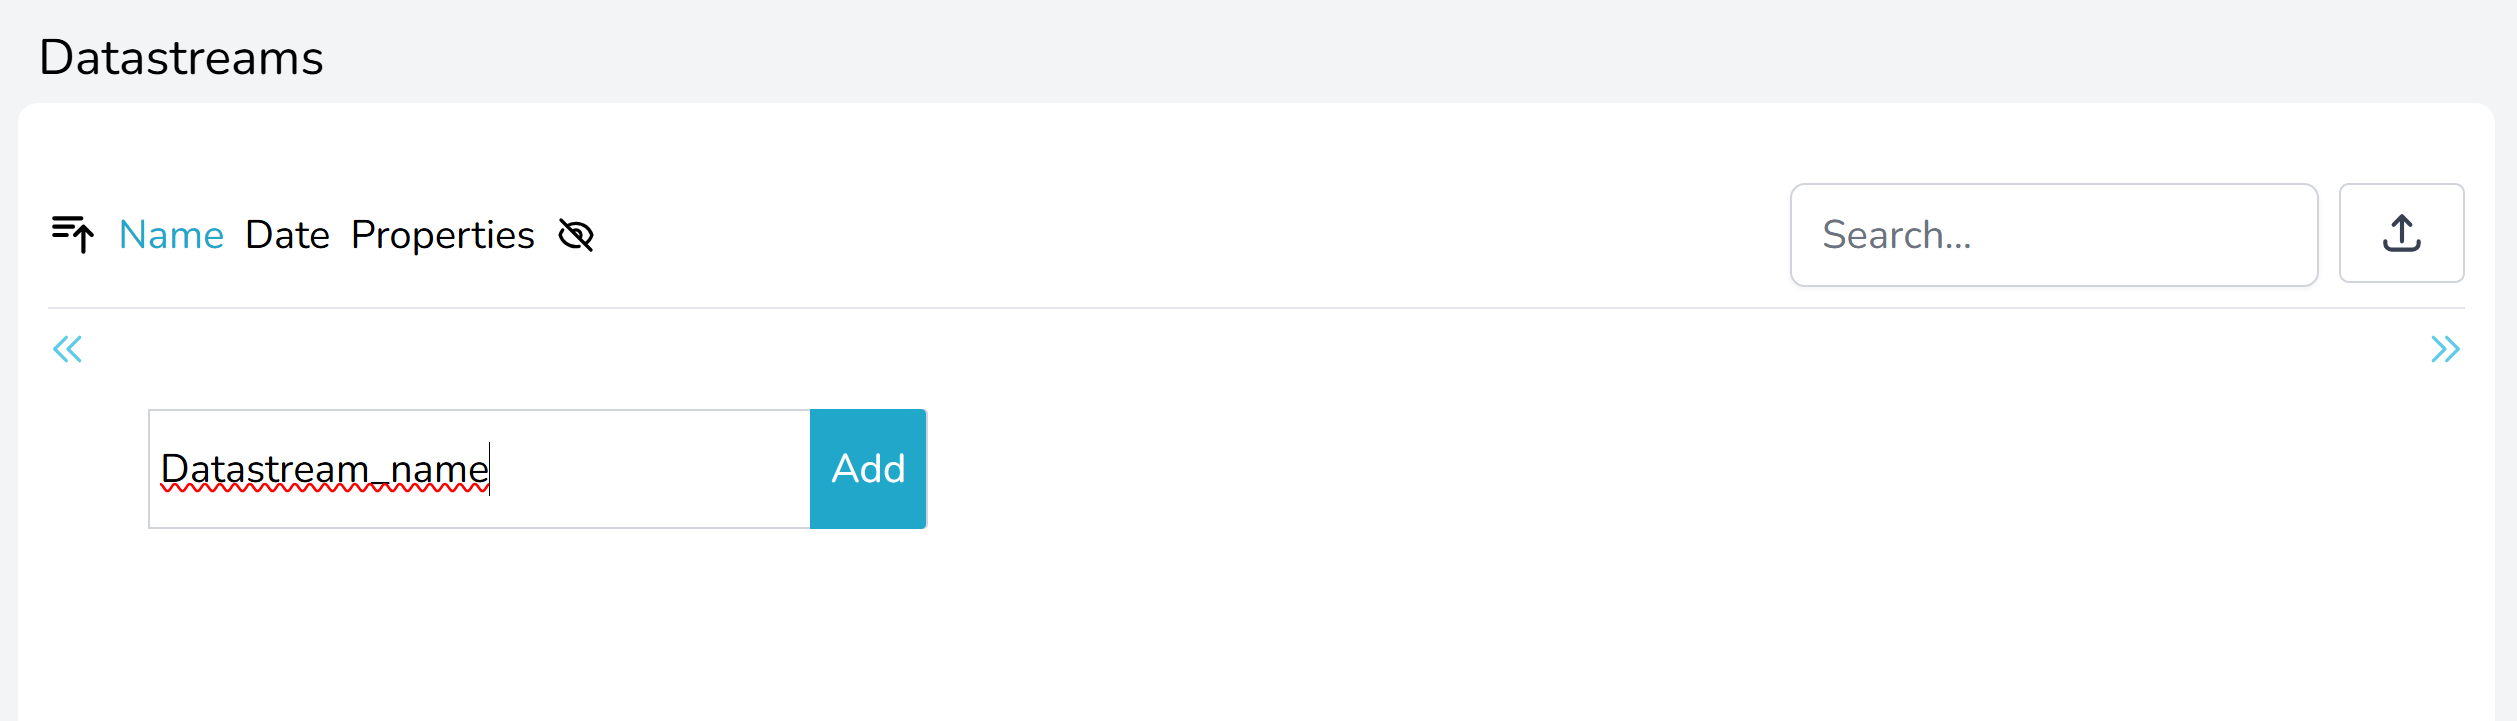
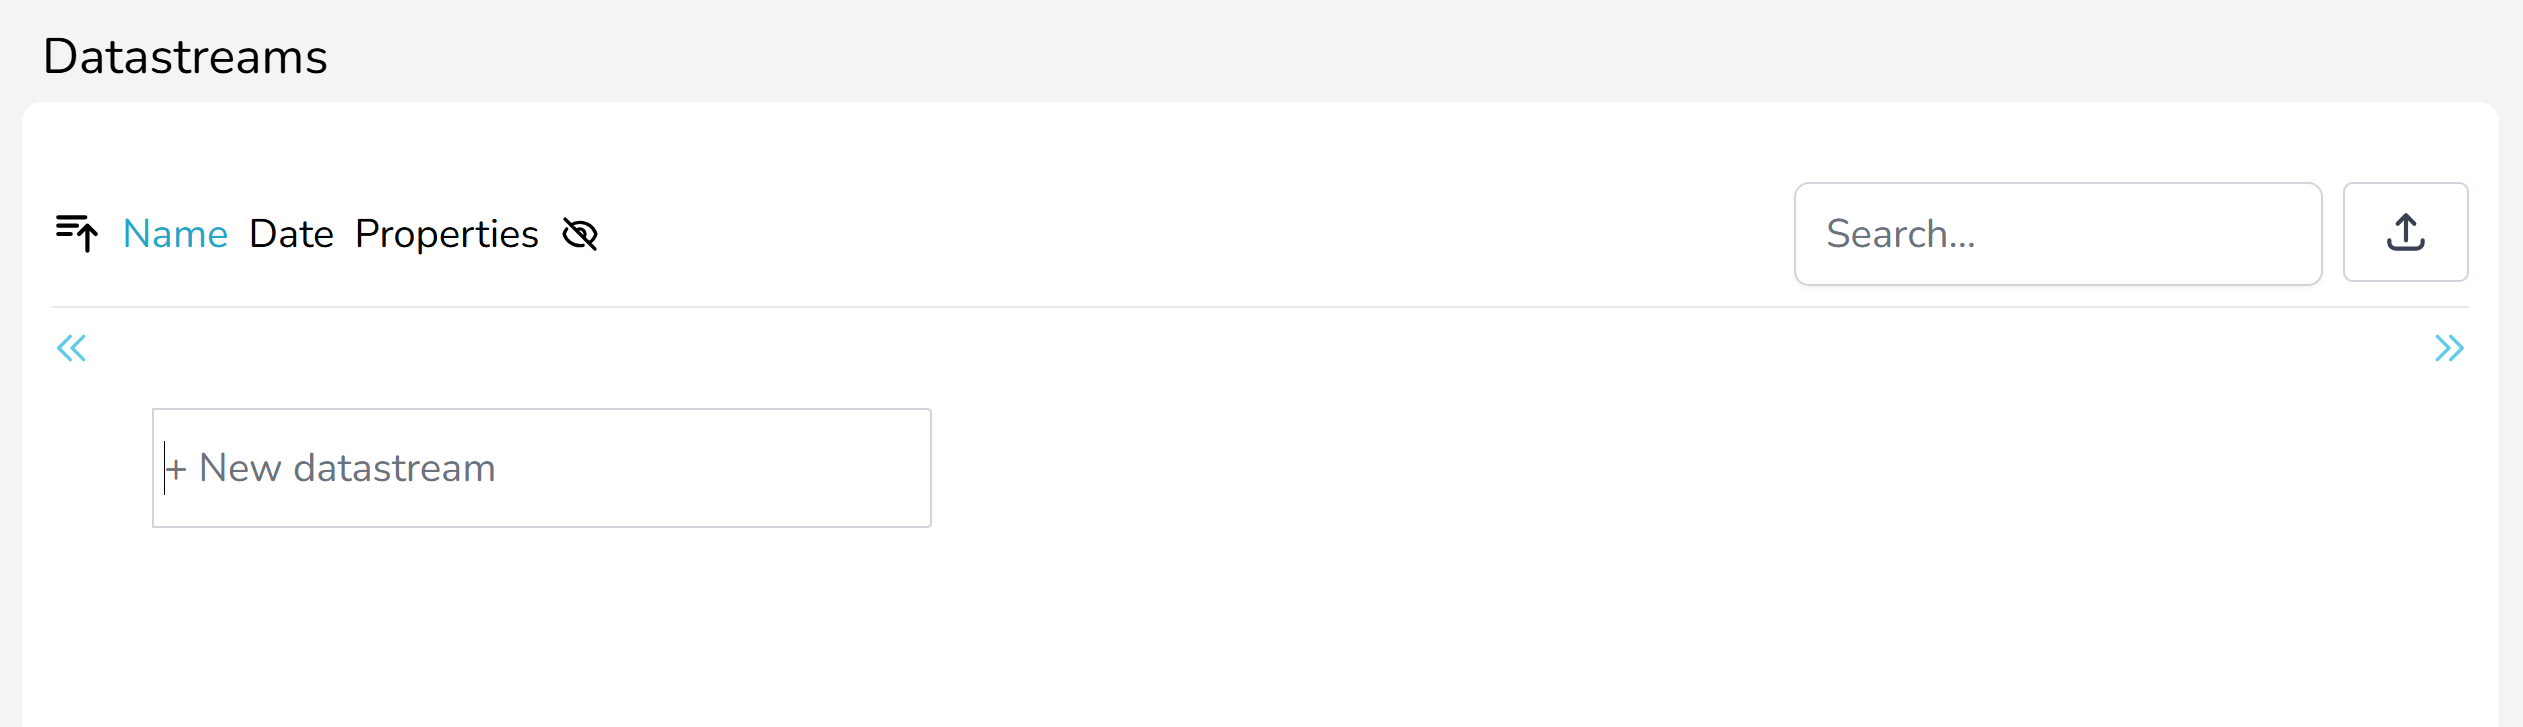
| Datastream | A datastream is like a channel where data from a sensor, measurement device or similar is received. All observations at the channel are a tuple with a time stamp for when the observation was measured and the measurement itself, i.e., the “value”. All timestamps in energydata.dk are in UTC time. Each datastream shall be described by a number of mandatory tags (metadata) that qualify the data. Additional tags can be added. |
| Owner | The owner of a dataset is the user who has the rights to manage it. This is typically the user who originally created the dataset. An owner can also grant ownership to other users. All owners share the same privileges and can manage the dataset equally. |
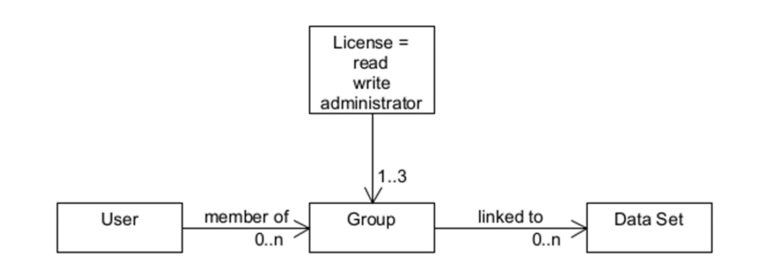
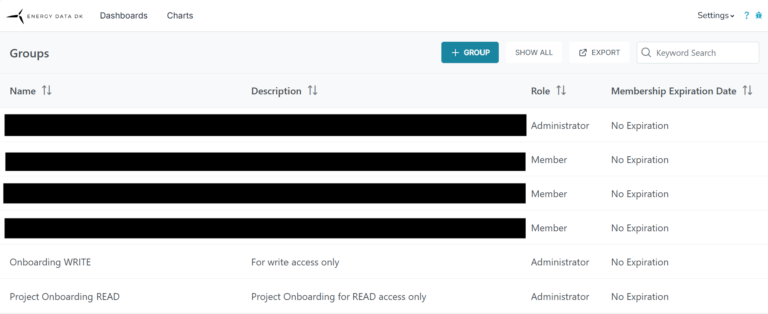
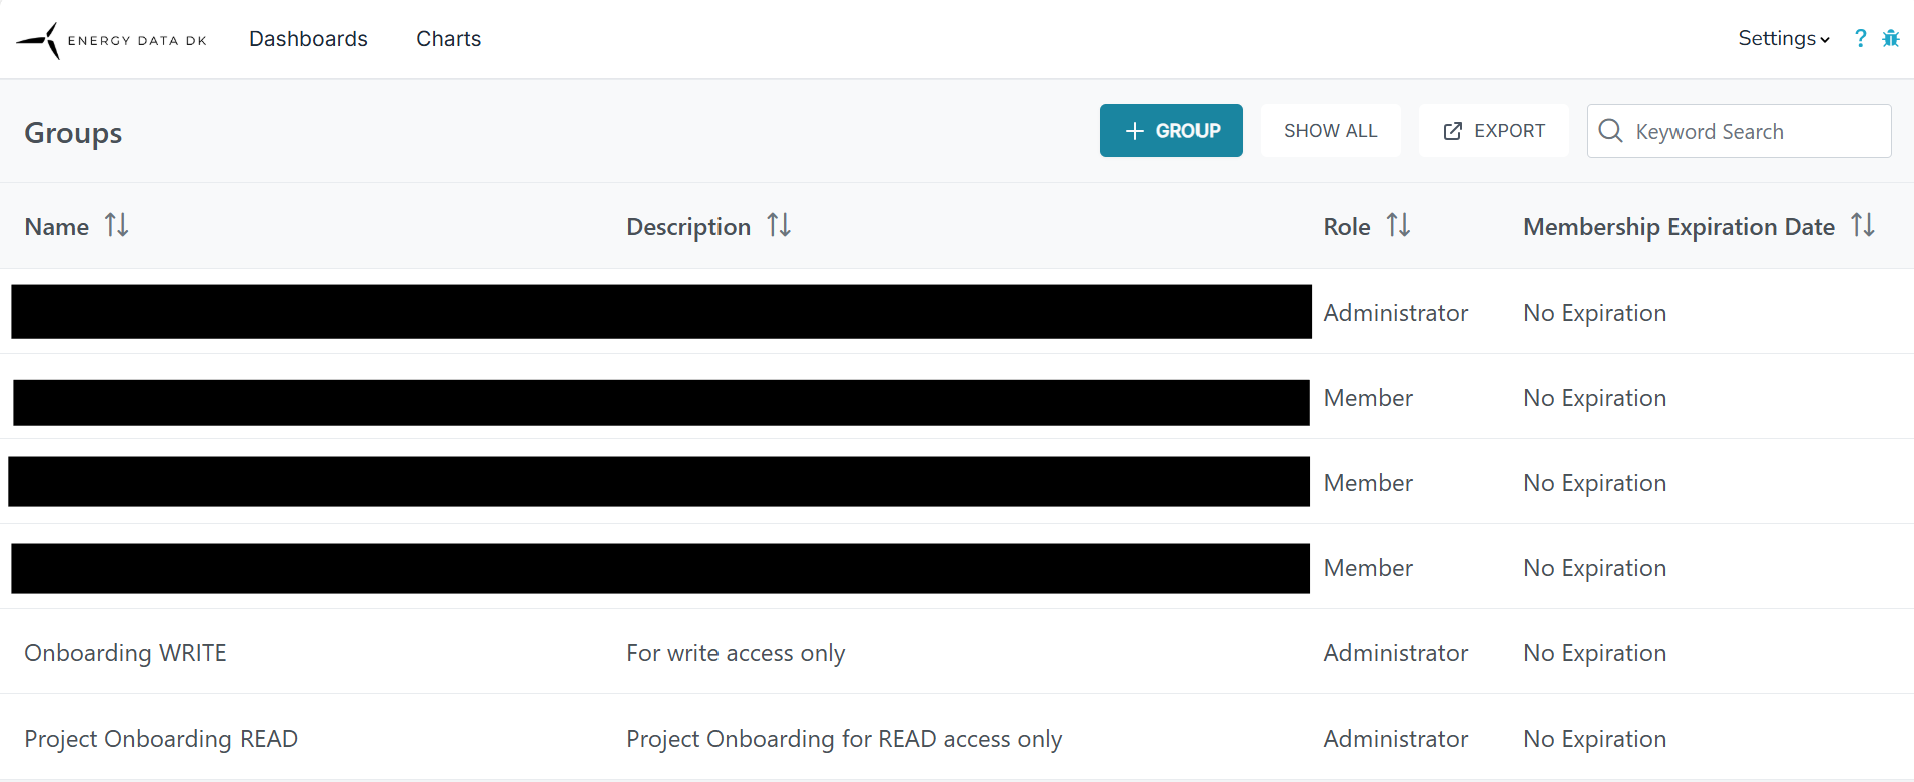
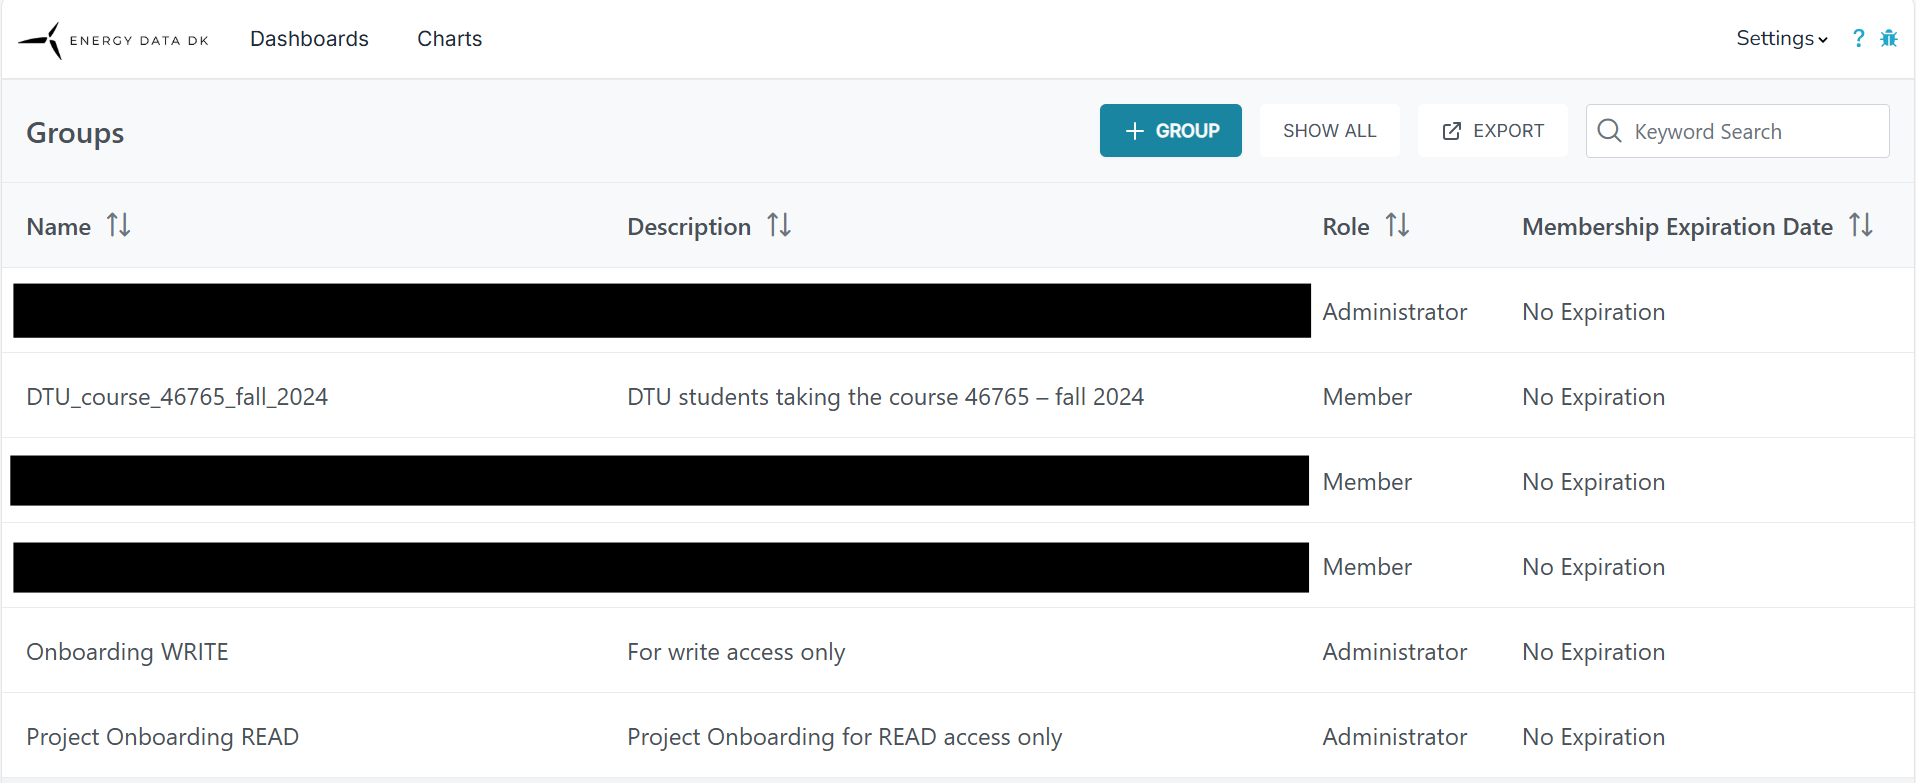
| Group | A collection of users is called a group, they all share the same privileges, i.e., which datasets they can access and what privileges they have for the dataset (read / write access). Every user that owns (administrates) a dataset can create a group. |
| Administrator (group) | An administrator is a group member with additional privileges. Administrators can manage group membership by adding or removing users, and they can grant access to datasets by assigning licenses to the group. However, administrators can only grant access to datasets they own. |
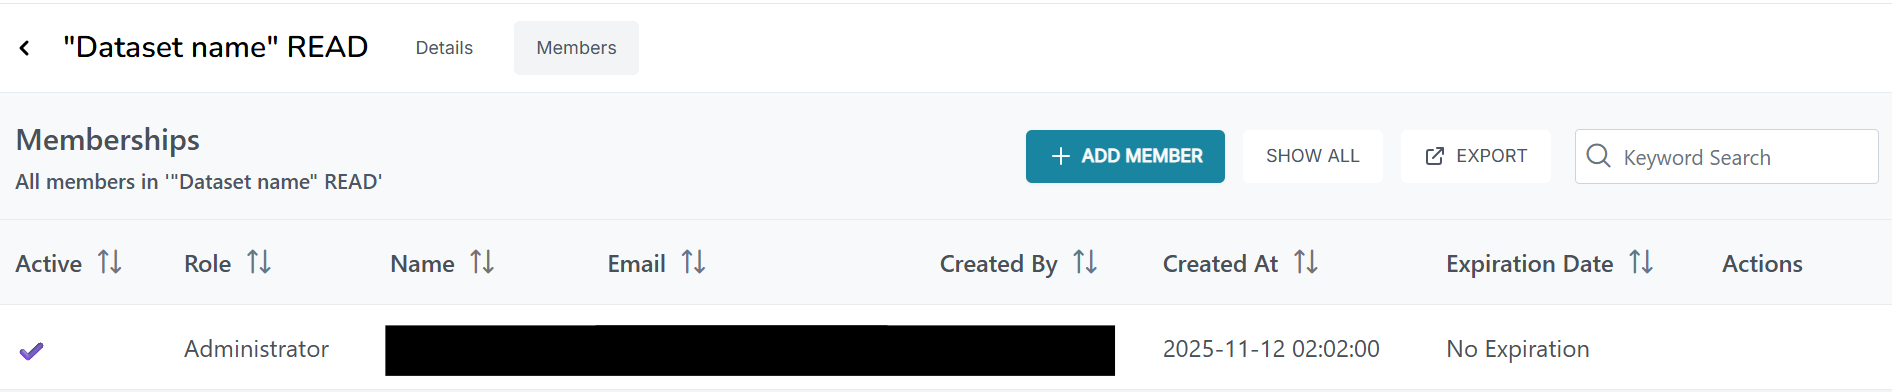
| Member (group) | A user can be a member of a group and, through that membership, gain access to the datasets associated with the group. |
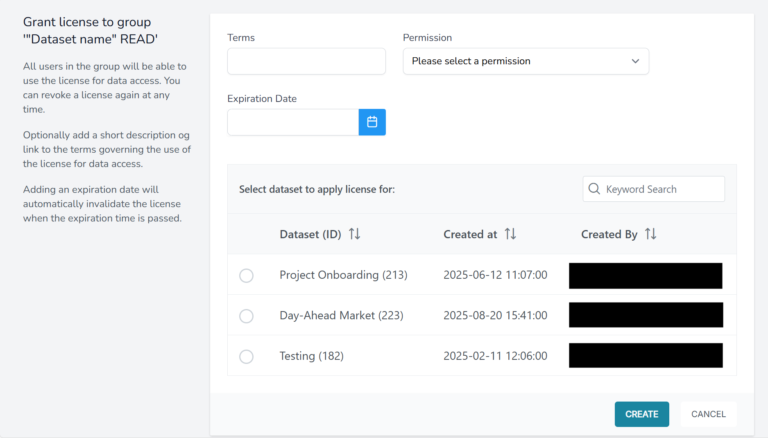
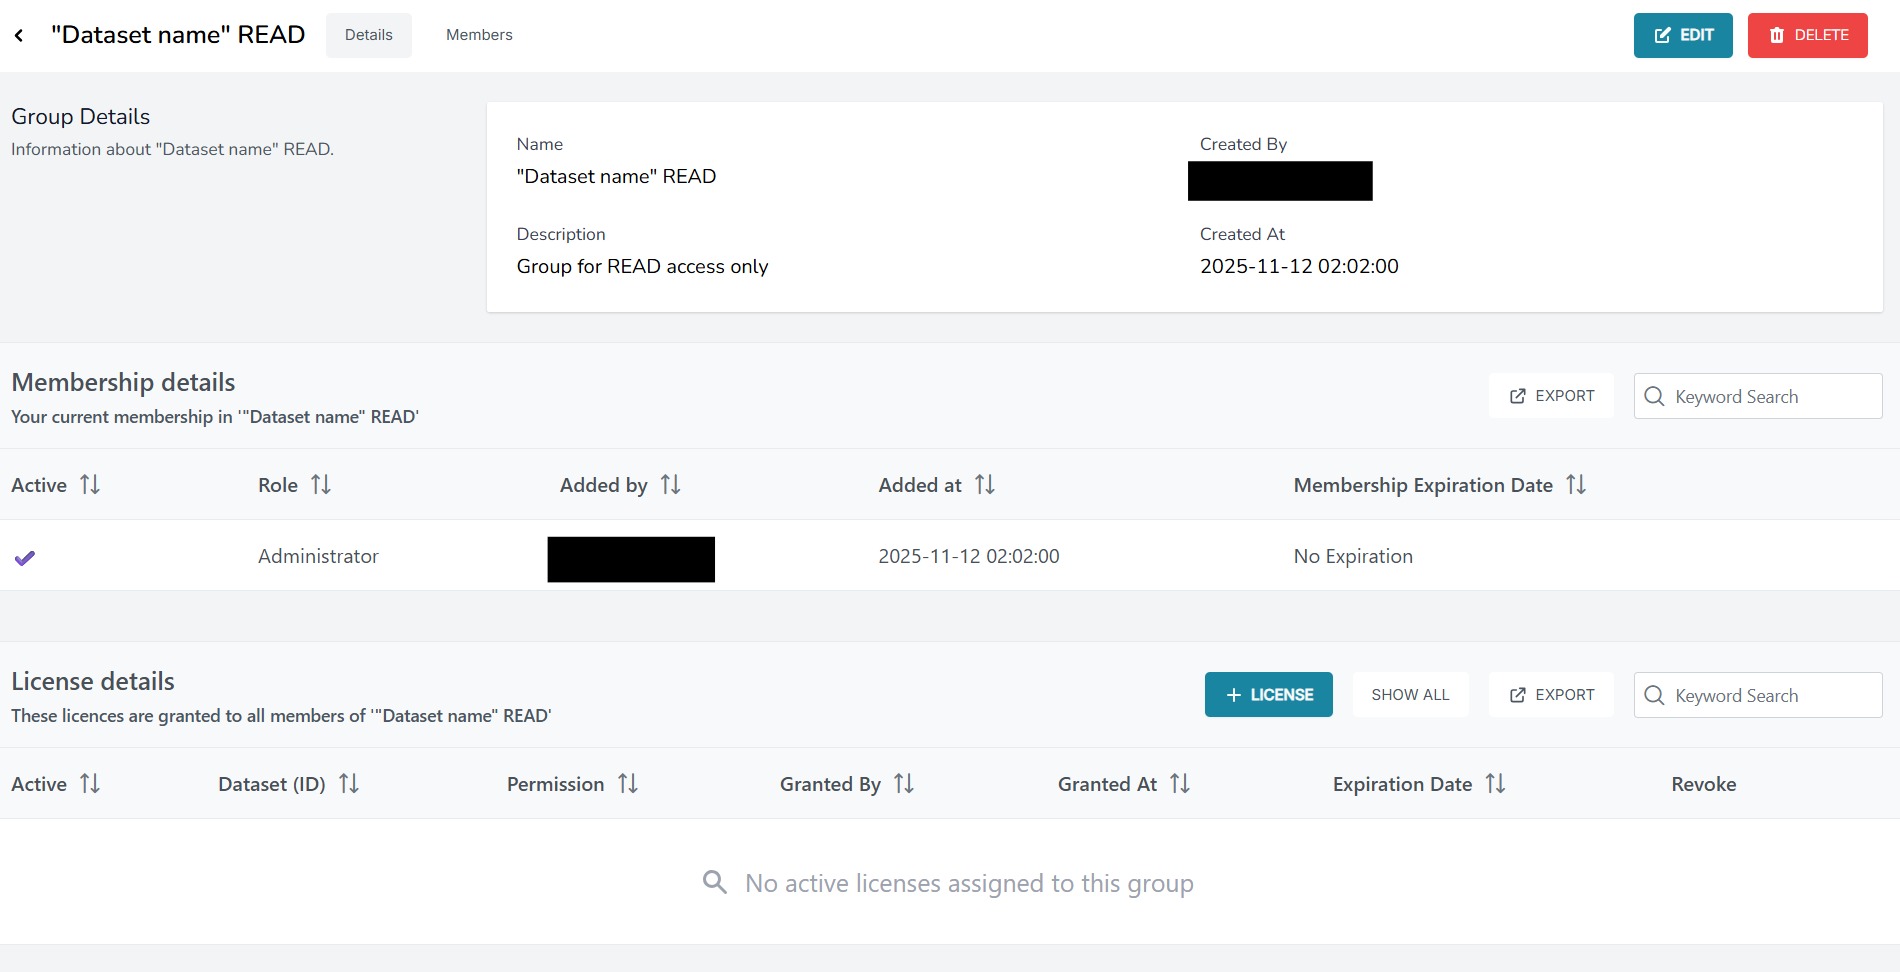
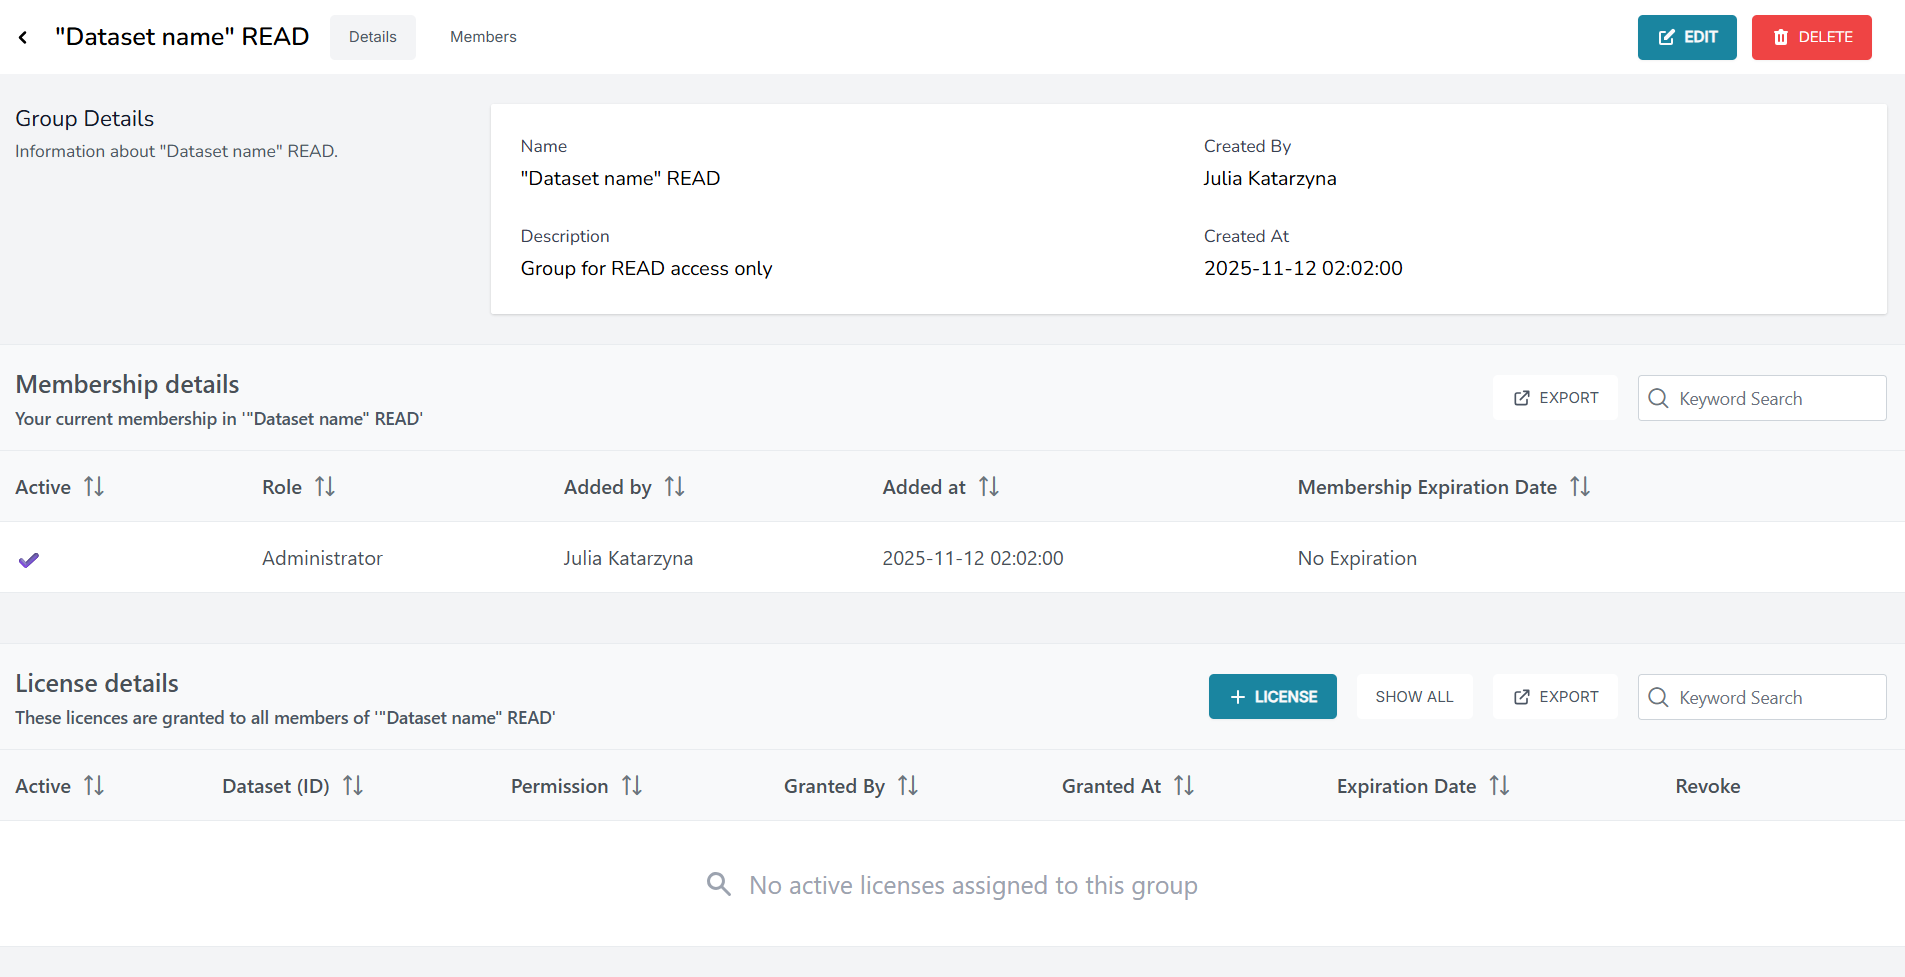
| License | Read or write access to a dataset is controlled by a license that is assigned to the group. This license defines the level of access the group has to the dataset. |
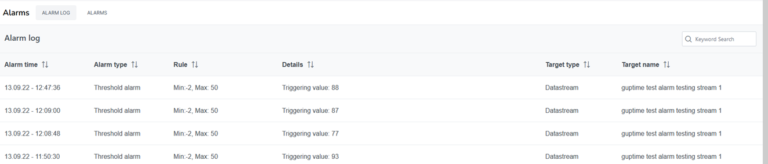
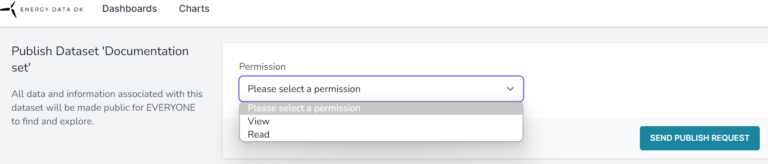
| Read | A read privilege allows users to view a datastream in the preview window, export the data to a CSV file, or access the data via the API for reading purposes. |
| Write | A privilege that makes it possible to insert data to a datastream via an API. |
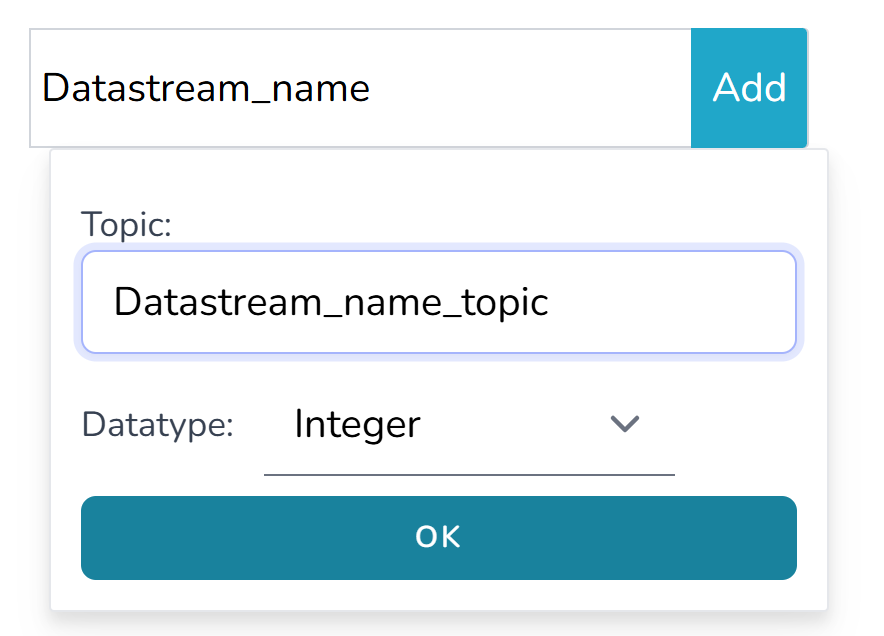
| Topic | A unique label for a datastream. The topic is used when inserting or requesting data for a datastream via an API. |
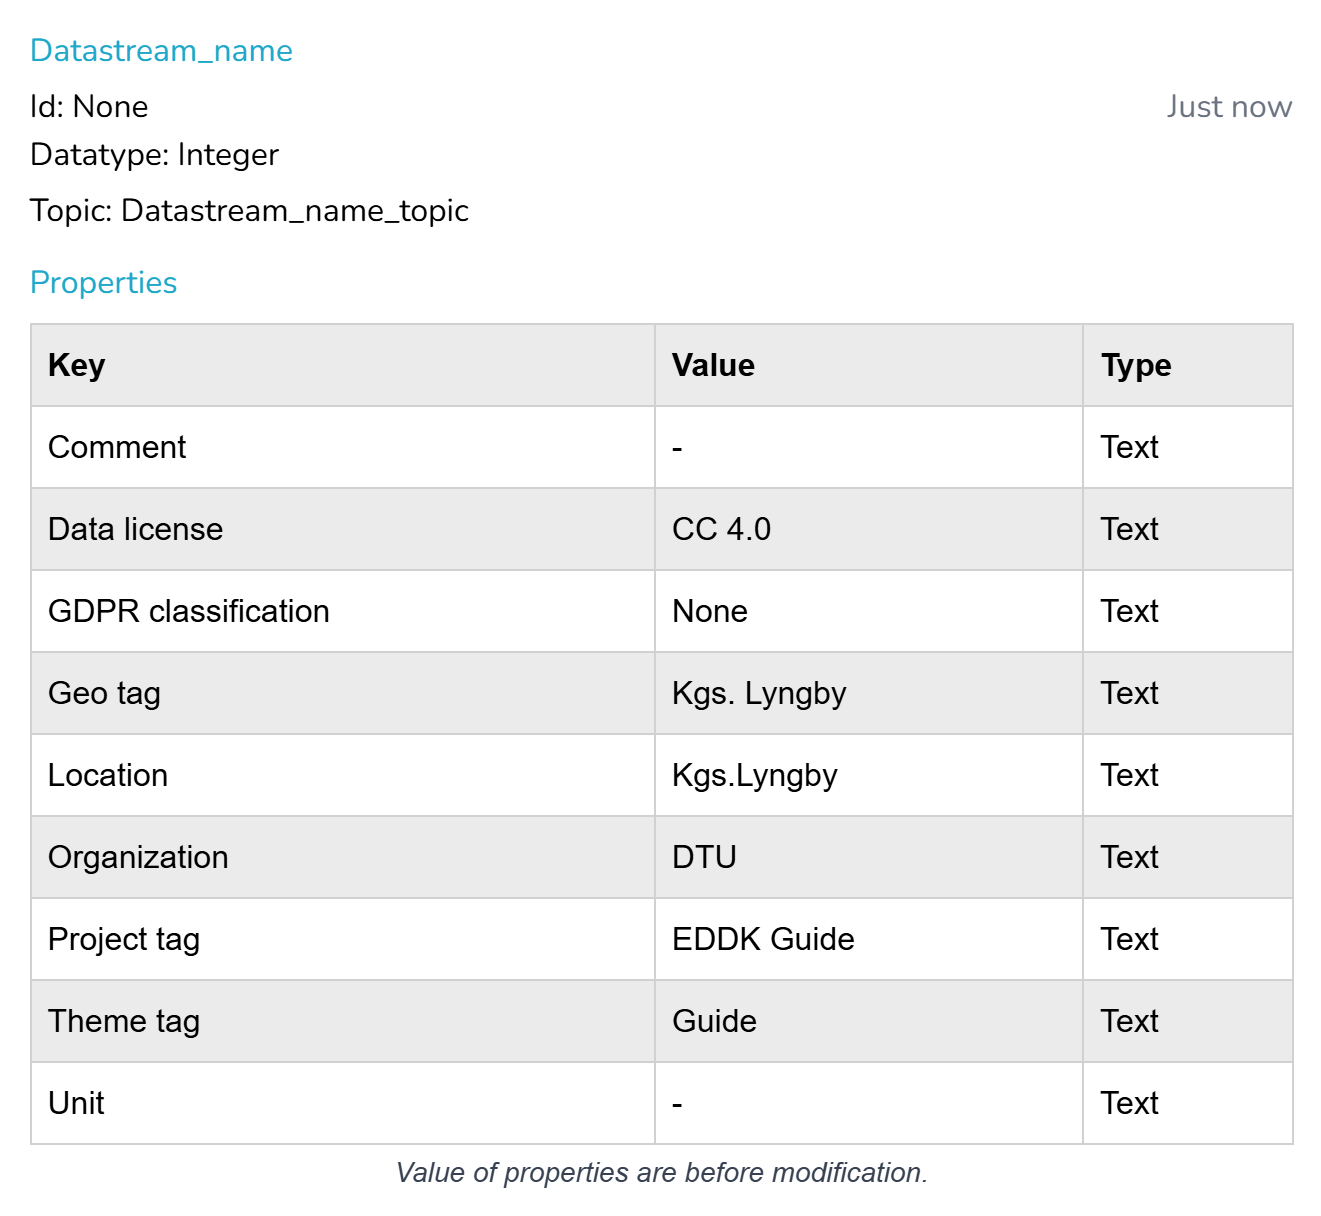
| Tag | A tag is a descriptive metadata label used to characterize a datastream, helping to define its purpose or category and making it easier to search, filter, or organize. |
Dataset description is very important as it helps the user understand what is in the dataset, whether the dataset is of interest for them and how to contact the data owner (you). Please prepare all of the dataset information according to this guide: Dataset description
In order to add your data to the website, you need to create a dataset. To create a dataset, go to Settings in the top-right corner of the page and select “Datasets” (Fig. 1).
A new window will open showing your Dataset Overview page (Fig. 2). Here you can view all datasets you own, as well as those for which others have granted you ownership rights.
To create a dataset, click “+DATASET” in the top-right corner of the Dataset page (Fig. 2).
In the window that opens (Fig. 3), enter the following: Dataset name, MQTT topic prefix, Dataset description.
Fill out the form according to the Dataset Description document.
In the bottom left corner of Figure 3, you can upload a picture to represent your dataset. If you manage multiple datasets, make sure to choose distinct images for each one to avoid confusion.
After creating the dataset, you will be taken to the Dataset Main Page (Fig. 4), where you can view all information related to the dataset.
Before uploading any data, you must first create a dataset skeleton by defining the datastreams intended for the dataset and providing the corresponding metadata for each. This metadata provides essential context and structure and is a prerequisite for data ingestion. Once the dataset is published, the metadata becomes publicly visible to all users through the Metadata column on the platform.
You can add this information in two ways:
Refer to the Dataset Description section for the required metadata information.
If you need to correct an error or add additional metadata, you can do so directly on the website at any point during the dataset setup or management process.
However, please note that existing metadata cannot be updated via CSV upload.
To add new datastreams to an existing dataset, you may upload a CSV file. Ensure that the file lists only the new datastreams; existing ones will not be altered.
To add datastreams metadata manually go to the Datastreams section of the dataset page (Fig. 5).
Then you must complete the form (Fig. 6c), that appear when pressing the button. You need to fill out all of the metadata, according to Dataset Description document, before you can save the datastream.
To save the datastream, you need to click either "Save all changes" button or disc icon to the left of your datastream (see Fig. 6c).
After the datastream is created, you can look up all of the information about the datastream by clicking on the eye that shows when you mouse over Datastream name. New window will pop up with all of the information (Fig. 7).
When you want to create a new datastream, you can create one from scratch or duplicate the already exisiting one. You can also copy properties from one datastream to another. The options open when you click on the three dots next to the datastream name (Fig. 8).
In there you will also find an option to delete the datastream.
The “upload” button is positioned in the top right corner of the Datastreams' section, to the right to the Search field (Fig. 5).
Through there you are allowed to upload a datastream definition file, where multiple datastreams are defined. A guidance for the file format, together with template file, is available (Fig. 9).
Additional template file is available here: Metadata Template file.
Important!
The maximum allowed file size for uploads is 20 MB. If you experience issues uploading the metadata file, we recommend splitting it into smaller chunks.
You will be notified by mail about the outcome of the upload. With that, your dataset is ready to receive data.
Now that your dataset is prepared, you can insert data into it. You can do it by using one of the API’s. API's and token are explained in detail in "API Guide".
The top menu bar contains five tabs: Details, Owners, Users, Licenses, and Publish. By default, the Details tab is selected.
The Owners tab displays all owners of the dataset. The Users tab lists all users with any kind of access to the dataset. In the Licenses tab, you can view all licenses associated with the dataset. The Publish tab allows you to check whether the dataset is published, submit a publication request, and view the status of that request. More information is provided in the section “Publish a Dataset”.
The left side of the dataset page provides a quick overview of the dataset metadata and shortcuts to dataset management actions.
At the top of the panel, key information about the dataset is displayed:
Created at – Date and time when the dataset was created
Number of datastreams – Total number of datastreams contained in the dataset
Last received data – Timestamp of the most recent data update for live data(does not show time of Batch upload)
Public access – Indicates whether the dataset is publicly accessible or restricted
MQTT prefix – The prefix used for MQTT-based data ingestion for this dataset
This information allows users to quickly assess the dataset’s status and configuration without opening detailed settings.
Below the metadata, a set of action links is available for managing the dataset:
Create dataset alarm – Configure alarms based on dataset conditions
Edit dataset details – Modify the dataset name, description, and other metadata
Divide dataset – Split the dataset into separate parts (e.g. for access control or structuring)
Delete dataset – Permanently remove the dataset
These actions provide direct access to common dataset management tasks.
You can monitor your datastreams within your datasets when data is published through the MQTT publish service. If one or more scripts are sending data to your datasets via MQTT, you can set up supervision rules to check that data is received at a frequency you define and that the values remain within specified ranges. If the data feed does not meet these conditions, an alarm will be triggered and you will be notified by email.
To create a supervision select the “Alarms” option in the setting menu (Fig. 1).
New window with two tabs appears; “Alarm log” and “Alarms”. In the “Alarm log” all raised alarms are listed with information about the raised alarms (Fig. 11).
Selecting the “Alarm” tab, all the defined supervisions (alarms) is listed and it is possible to define a new alarm by selecting the “+ ALARM” button (Fig. 12).
When defining the new supervision note:
Select frequency if you need to supervise that data is received and threshold if you need to supervise the received values
Can either be for a stream or dataset
Datasets also support integration with external analytical tools like Grafana, enabling streamlined data monitoring and real-time visualization.
By dividing a dataset, you will create a new dataset with the given name, MQTT topic prefix. The datastreams you select will be moved into the new dataset.
The datastreams which are moved into the new dataset will be assigned a new MQTT topic prefix. This means any programs which publish data to these datastreams using MQTT, must be updated to use the new topic. However, it will still be possible to publish data to the old topics during the grace period.
The moved datastreams are also assigned a new datastream ID. Thus, any programs that interact with the HTTP API (either import or export), which use datastream IDs as identifiers must also be updated. Remember to create new alarm rules for the migrated datastreams and the new dataset, as the existing alarm rules will not be migrated.
The "Divide dataset" option is available from the dataset menu (Fig. 14).
From here, a form appears as shown in Figure 15.
At energydata.dk, you can choose to share your data with other users of the website. As a dataset owner, you are responsible for deciding whether to grant other's access to your data and under which conditions.
The permission types are explained in the Glossary.
Access rights are assigned to a “group” and all members of the group share the same privileges. A dataset is linked to one or more groups. This is illustrated in Figure 16.
The list shows all the groups that you are either members of or administrator for.
Create a new group by pressing the “+ GROUP” button and complete the form in Figure 18.
Name the group based on access type and dataset name to help keep your groups organized.
Note that the description is limited to 100 characters.
When you press the ”create” button a new form, called "Group menu", appears (Fig. 19).
As a group administrator, you can access this page at any time from the Groups’ menu (Fig. 17).
On the group page, you can:
In the Group's menu (Fig. 19), navigate to the License Details section. Here you’ll see:
To grant a new license, click “+ LICENSE” on the right side of the section.
In the new window (Fig. 20), define the following:
Choose the dataset you want to grant access to and click Create.
To add a new member, click “+ADD MEMBER” on the right side of the page. The form to add a new member will pop up (Fig. 22).
Important: The person you want to add needs to be registered on the energydata.dk website!
Note: You can only add one member at a time.
Enter the new group member (user) email address and assign the role they shall take: Member or Administrator.
A member can access the data the group is granted access to. An administrator can manage the group to the same extent that you can as a group creator.
You can set an expiration date; this can be useful if you want to automatically revoke the membership e.g. when the project ends.
To manage access efficiently, we recommend structuring your groups based on the number of users and the type of project:
For each dataset, create two shared access groups:
Add users from any small-scale project that requires access to the dataset into the appropriate group. Assign individual expiration dates to each user to manage and limit their access as needed.
This setup allows you to grant users from multiple small-scale projects access to the same dataset through shared Read or Write groups, while still maintaining control over each user's permissions and access duration individually.
This approach helps keep your environment organized, simplifies license and member management, and ensures permissions are aligned with the project timeline. It also makes your system scalable as your needs grow.
You can publish a dataset. When it is published, all users on EDDK can see that the dataset exists and it will be searchable.
To publish a dataset, go to "Publish" tab in the dataset menu page (Fig. 23).
Press the PUBLISH DATASET button and you will have to choose the publishing permission (Fig. 24). From here you can send a publishing request.
When a request is made, the EDDK data-administrator will receive the request, and if there is sufficient description and metadata, the request will be approved. If it is rejected, an explanation will be provided.
Please note that a user can be a member of several groups and several of these groups can have access to the same dataset, so if you need to revoke access to a dataset for a user be sure to examine all groups linked to the dataset.